
You open the pantry to grab the pasta. A bag of rice slides out. Behind it, three half-empty cereal boxes and a spice jar you forgot you owned. Sound familiar? Mine looked exactly like that for years.
Here is the truth nobody tells you: a small pantry does not need a remodel or a cart full of matching containers. It needs a simple system that fits the space you already have. Zones. Clear bins. Labels. That is the whole secret, and these small pantry organization ideas actually work in real pantries — narrow shelves, deep shelves, weird corners and all.
1. Empty It First (Yes, All of It)
I know. Taking everything out feels dramatic. Do it anyway. Twenty minutes, and you will wonder why you waited so long.
Toss anything expired or stale. Not sure how long something keeps? Clemson University’s pantry food storage guide lists safe storage times for common pantry foods. Then group what is left on the counter: pasta and grains, canned goods, snacks, baking, sauces, breakfast. You will find duplicates you forgot you bought — I once found three bags of the same rice.
Wipe the shelves while they are empty, and measure each one. Width, depth, and the height between shelves. Write the numbers on your phone. Every organizer you buy later has to fit those numbers, or it is wasted money.
2. Give Every Shelf a Zone
A pantry without zones turns into one big pile within a week. Give each shelf one job, and stick to it:
- Top shelf: the stuff you barely touch — holiday baking supplies, bulk extras, backstock.
- Eye-level shelves: daily cooking — oils, sauces, pasta, rice, spices.
- Lower shelves: the heavy things — canned goods, drinks, big bags.
- Bottom or floor: bulk items and pet food, if you have them.
Keep snacks and breakfast foods together in one zone, so mornings do not start with a treasure hunt. Once every item has a zone, putting groceries away takes seconds. No decisions, no thinking.
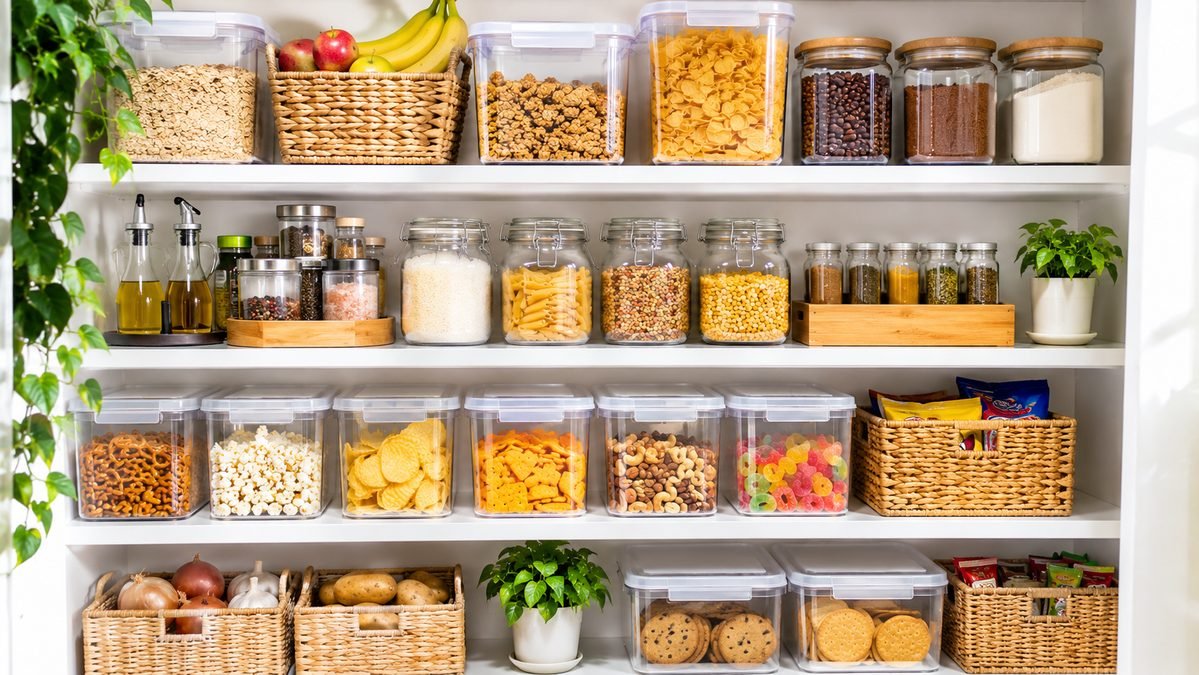
3. Use Clear Bins You Can See Through
If you buy one thing for your pantry, make it clear bins. You can see what is inside without pulling the bin out, and nothing hides at the back anymore.
A few rules I learned the hard way:
- One bin per category. Snacks in one, pasta in another, baking in a third.
- Leave a little empty space in each bin. A bin stuffed to the top is a bin you will avoid opening.
- If your shelves are deep, get bins with handles. You slide the whole bin out like a drawer, grab what you need, slide it back.
And no, they do not have to match. Start with a few clear bins in the spots that bother you most. Add more only where they actually help.
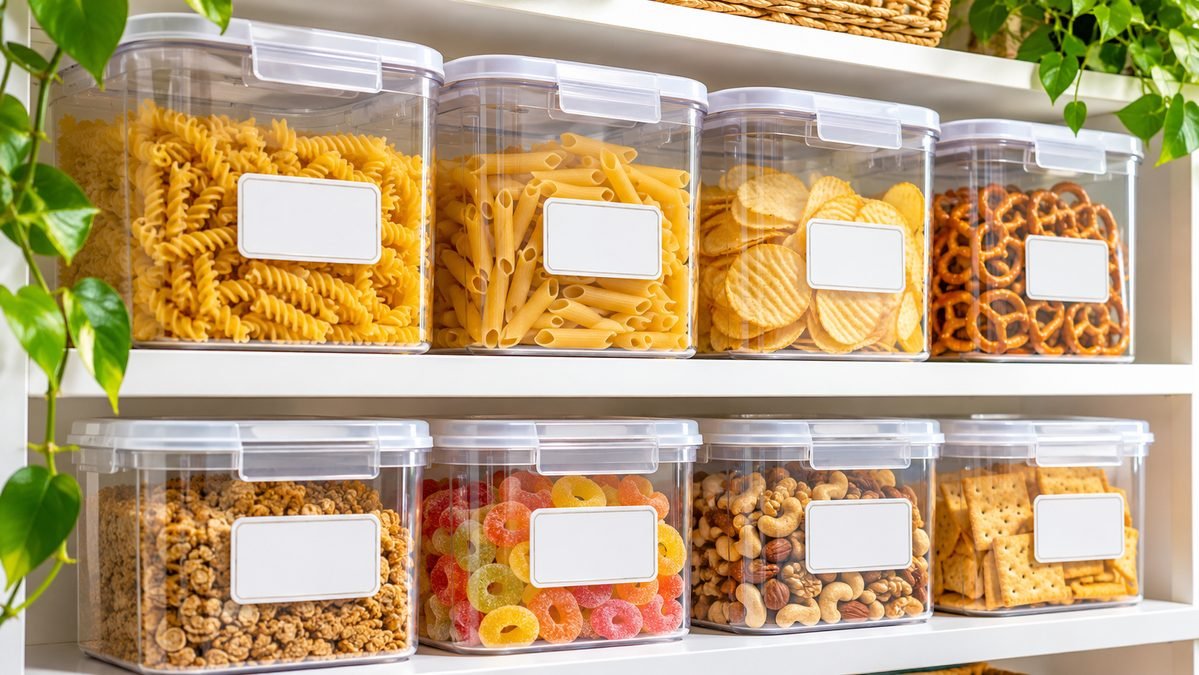
4. Label Everything (Even the Obvious Stuff)
Labels feel silly until the system starts slipping. Then you are glad they are there. A label tells everyone in the house where things go — including future you, three weeks from now, who will not remember.
Keep them short: “Pasta”, “Snacks”, “Baking”, “Rice & Grains”. A label maker is nice, but honestly, masking tape and a marker work just as well. Label the shelf edge too, so the zone stays put even when a bin is in the wash.
5. Decant Only the Worst Offenders
Decanting — pouring food into jars — looks beautiful on Pinterest. But you do not need to decant everything. Just the troublemakers:
- Flour, sugar, and rice, which tear and spill everywhere.
- Cereal and crackers, which go stale in open boxes.
- Snacks you buy in bulk, which are easier to portion from a jar.
Everything else can stay in its original packaging. A tidy pantry is about finding things fast, not owning fifty matching jars.
6. Use the Back of the Door
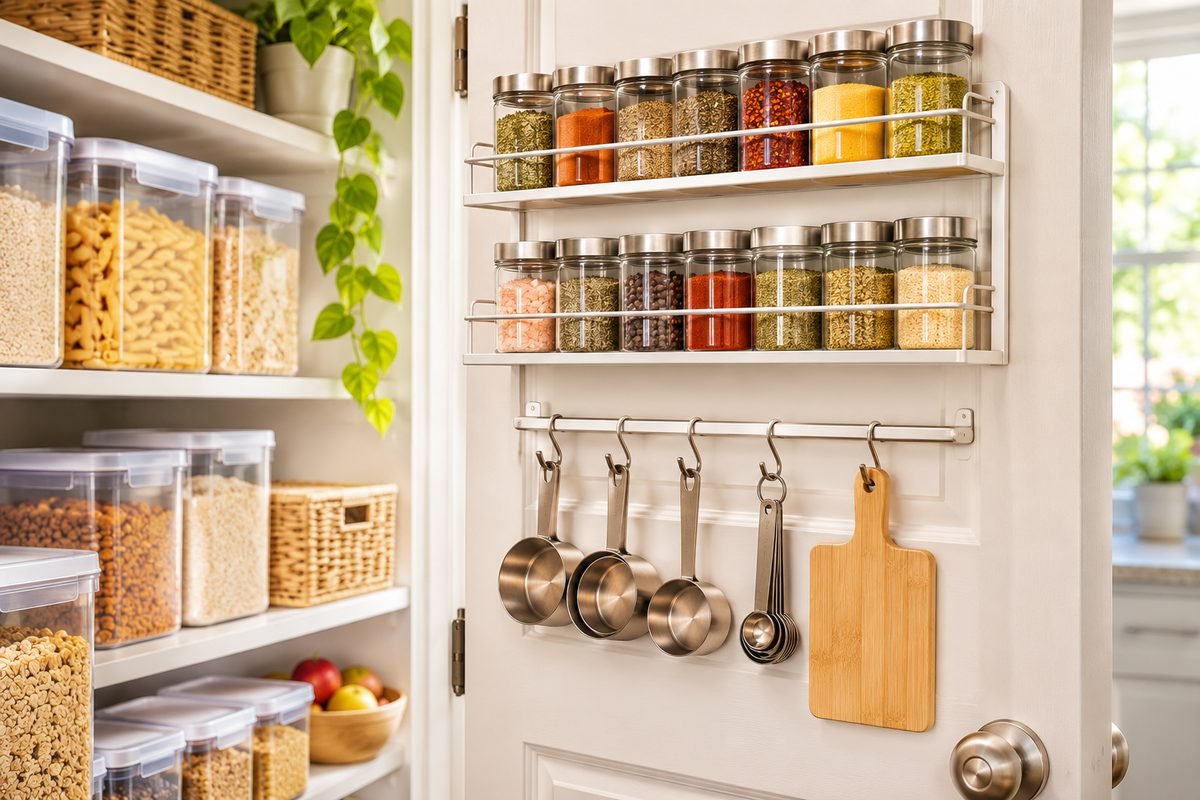
The back of the pantry door is free storage, and most of us never use it. A slim over-door rack holds spices, small sauces, and snack bars that would otherwise eat shelf space.
One warning: measure first. The rack has to clear the shelves when the door closes, or you will be uninstalling it the same day. If your door is too narrow for a rack, adhesive hooks hold measuring cups, aprons, and a small shopping list pad. Renters, this one is for you — removable hooks and over-door racks need no drilling at all.
7. Go Vertical With Shelf Risers
Look at your shelves. See all that empty air above the cans? That is wasted space. A shelf riser costs almost nothing and changes everything. A shelf riser adds a second level for cans and small jars, and stackable bins do the same for snacks and packets.
Put short items in front and tall ones at the back, so nothing hides. If you can see the back row, you will actually use it before it expires.
8. Keep a Running Pantry List
The fastest way to keep a pantry organized is to stop overbuying. Keep a small list on the inside of the door or on your phone. When something runs out, write it down right away — not later, because later never comes.
Check the list before shopping. Fewer duplicates means fewer things to organize, and a pantry that stays tidy a lot longer.
9. Spin the Corners With a Turntable
Corners and deep shelves are where food goes to be forgotten. A turntable — a lazy Susan — fixes that. One spin, and the back row comes to you. A turntable is one of the simplest fixes for deep shelves.
Use it for oils, sauces, vinegars, and spice jars, the tall bottles that hide everything behind them. Measure your shelf depth first; the turntable needs about two inches more than its own width to spin freely. And for very deep shelves, pull-out bins do the same job — the whole bin slides forward, so nothing stays buried at the back.
10. Small Pantry Organization Ideas on a Budget
You do not need a big budget to organize a small pantry. Honestly, some of the best fixes cost almost nothing:
- Cleaned-out glass jars for flour, rice, and snacks.
- Sturdy cardboard boxes, trimmed to shelf height, as pull-out bins for deep shelves.
- Dollar-store bins for packets and small bags — buy three or four for the worst spots first.
- Masking tape and a marker instead of a label maker.
Live with the cheap version for a week. If a bin earns its place, buy more of the same. If it does not, you have lost a few dollars, not a whole system.